2.16.2012

scrappy fish quilt

So I joined the Scrap Attack Quilt Along hosted by Rachel of Stitched in Color. Truthfully I had other ideas for my scrap quilt, and I still may try to execute those plans, but for now - this quilt turned out exactly how I'd planned it.


When I saw this quilt by Katie of Sew Katie Did I knew I wanted to make one.

One month I made these blocks with scraps for the Harmony circle of do. Good stitches {a charity bee} and I LOVED the colors together. My sister Katie was pregnant at the time and I thought she'd love this color combo as well.


And so I started making her new baby a quilt using only scraps. I still have a few scraps left over. 


Can you tell here that I used white strips to piece that whole white strip? 


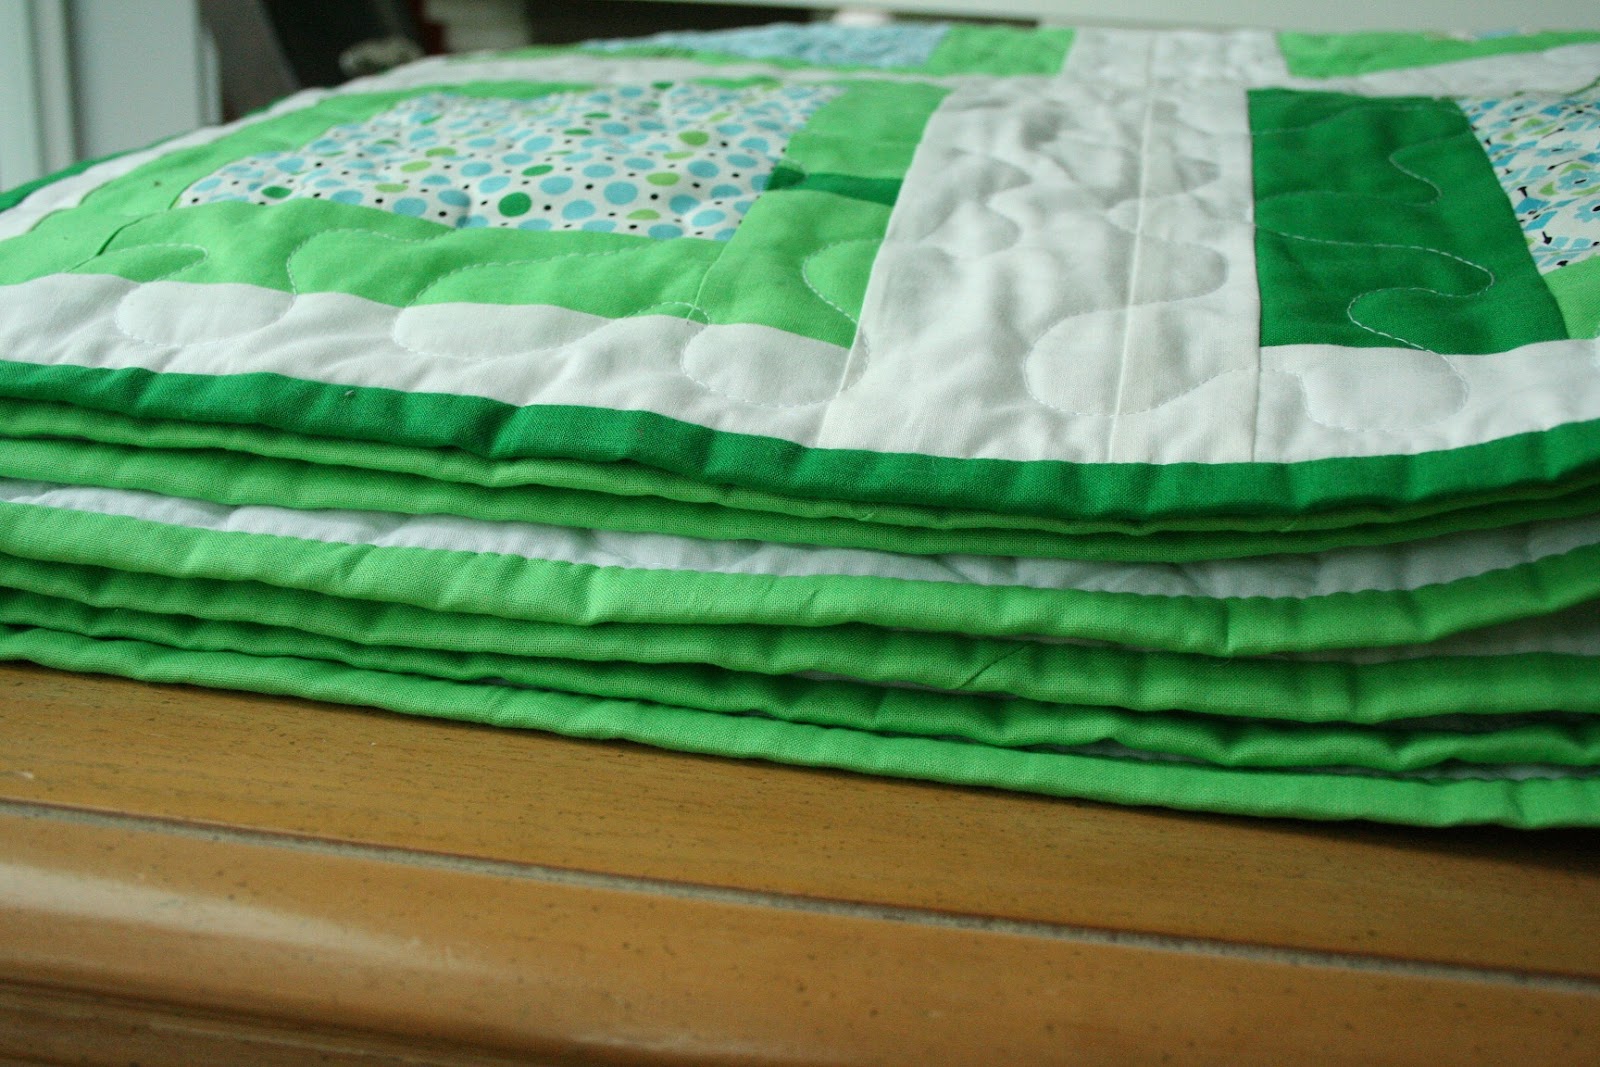
For the back I used scraps from the backing of this quilt. It's just pieced with all the same fabric. And for the binding I used 2 different oranges that were smaller than a quarter yard. 

For the quilting I just did a curvy/straight line (is there a name for that?) with my new walking foot. I have a Brother sewing machine and I've never had good luck with the walking foot it came with. Kati had the same problem and started using a generic walking foot and had much better luck. I bought a new generic one and I'm happy to report that my straight quilting is the best I've ever done. If you've had trouble with straight line quilting, I'd look into getting a new/different walking foot.

What else?

I've also joined another quilt along with Dana of Old Red Barn Co. I am in love with that Granny Square quilt! I think I'll make a twin size. 

I've got a few other things to share soon too. What have you been up to?

1.29.2012

2011 quilts

Well I made 9 quilts last year and 9 quilts in 2010! Let's see if I can make more than 9 this year. Here are the ones from 2011 with a long list of what's already started (in hopes that by putting them on the here - I'll get them finished up.)


1. my new bed quilt, 2. Jack's stripes (back), 3. a man quilt, 4. KJR 9 patch, 5. purple/yellow 9 patch, 6. wildwood coin finished!, 7. the biggest quilt i've ever made - 102 x 104, 8. blue and green squares, 9. Amy Butler throw for the kindergarten teacher

Quilts I'd like to finish this year:

1. Hello Betty (top is done, just needs quilting and binding)
2. owl baby quilt
3. Amy Butler green and blue
4. flannel HR squares
5. purple scrap quilt (add a border, quilt and bind)
6. Hello Betty scrap quilt (border, quilt, and bind)
7. Harmony grey/blue/green quilt (quilt and bind)
8. houndstooth quilt
9. rainbow chevron (top is done, just needs quilting and binding)
10. orange/grey string x

There is also a whole list (longer than this) of quilts I'd like to get done but haven't started. We'll see how it goes. In the meantime - I may be posting photos of some of these that I haven't shown you yet.

1.25.2012

Rainbow Chevron Twin Quilt: A Tutorial


FOR THIS QUILT YOU WILL NEED:
5 fat 8ths in each of 7 colors (red, red-orange, orange, yellow, lime green, green, blue).
OR assorted scraps (at least 7 x 7 inches in size or 3.5 x 14 inches long) - enough to make 14 per row or 98 total chevrons.
AND 6.25 yards white for chevrons, sashing, and borders. (A generous amount.)

These instructions are for a twin quilt. You will make 14 chevron blocks per row. There are 7 rows. So there are 98 chevron blocks total.

MAKING THE CHEVRON BLOCK:

Step 1
Cut 1 white rectangle 3.5 x 6.5 inches
Cut 1 print rectangle 3.5 x 6.5 inches
Cut 2 white squares 3.5 x 3.5 inches
Cut 2 print squares 3.5 x 3.5 inches


Step 2
Mark a diagonal line through the middle of the square - like the photo below. Do this to all your squares.


You'll have 4 squares with diagonal lines marked.


Step 3
Lay the white square on the printed rectangle - right sides together - lining them up on the left side with the diagonal line oriented like the photo below. 

Lay the printed square on the white rectangle - right sides together - lining them up on the left side with the diagonal line oriented like the photo below.


Step 4
Sew on the line for both pieces.


This is what your pieces will look like sewn (below).


Step 5
Trim each piece 1/4 inch away from the stitch line.


This is how your pieces will look (below).


Step 6
Press the triangles open.


This is how mine look from the back - with the seam pressed to the side toward the triangle. You could also press it open.


Step 7
Lay the white square on the printed rectangle - right sides together - lining them up on the right side with the diagonal line oriented like the photo below. 

Lay the printed square on the white rectangle - right sides together - lining them up on the right side with the diagonal line oriented like the photo below.

Sew the squares to the rectangles along the diagonal line.


Step 8
Trim each piece 1/4 inch away from the stitch line.


This is how your pieces will look (below).


Step 9
Press the triangles open.


This is how mine look from the back.


Step 10
Sew the 2 blocks together making sure that you sew right through the point to get a nice point on the finished block.


This is what your block should look like. Notice where the stitching meets the point.


Step 11 
Press the whole block. I pressed my seam to the side and toward the top (as shown below) because when you start sewing the blocks to the sashing it is easier to see where the points will be. Pressing this seam open would work too.


And here is your finished block! 


I am not going to go into great detail about how to put the blocks together into a quilt. But here are the dimensions for the rest of the quilt.

8 strips of sashing (including side borders) - 3.5 wide x 84 inches long. (I'd measure each chevron strip and take the average to find out exactly how long to cut the sashing)
2 strips for top and bottom borders - 3.5 x 66.5 inches long. (I'd measure the top and bottom of the quilt to see exactly how long to cut these.)

The quilt should finish at 66.5 x 90.5


Good luck! And if you make a quilt using this tutorial, be sure to send me an email with a photo link. I'd love to see!

p.s. I apologize if there are any problems with this tutorial and would appreciate it if you'd let me know if there are. Thanks!


Rainbow Chevrons: tutorial coming soon!

I finished a quilt top!


This quilt has been in my head ever since I saw this mug rug.

I also couldn't get these signs out of my head. Every time I'd see them while driving, I knew I wanted to do a similar quilt. Also around the same time I'd been thinking of a good rainbow idea.

photo from here
So about 1 1/2 years ago I started planning and cutting. Then I got distracted by other things and it sat waiting to get worked on. (Story of my life.) Recently I've also seen this photo on pinterest and figured I'd better hurry up and finish this before someone else got the same idea!

I'm working on a tutorial for this quilt. It should be up soon!

Thanks for reading :)

1.13.2012

bee blocks

Sometimes it seems like all I do are bee blocks. Does it seem like that to you? I think I'll start a new quilt just to be working on a quilt. And I think I'll keep working on another one I've started. I'll take some photos and show you. I also did write several quilting goals and I think I'll try to post them on here with photos. It may or may not happen.

This first block is for Rachel in Bee Tweet. She asked for houses. That little house on a pole is supposed to be a bird house. Or maybe it could be a light post. Either way. Also - that roof fabric was something vintage. It even smelled vintage. Not sure I love it as the roof, but it was a great fabric.


These next 6 blocks are for the 4x5 Modern Quilt Bee. 


And these next 3 are for the HARMONY group of the do good stitches bee.


Hopefully my next post does not include bee blocks!

1.03.2012

last finishes of 2011

I'm planning to post my progress from last year and my new goals for this year soon, but first I have to sneak in these Christmas finishes.

I made this very large quilt for my mom for Christmas. It measures 102" x 104". LARGE. Note that one side is missing the border. That was on purpose. You may have also noted that it is not bound. I left that to my mom. But I did get it quilted for her (by my favorite quilter Emily - of Emerson quilting.) I am SO thankful I didn't have to quilt it myself!


Here is a close up of the quilting. I love the loops.

This is the backing - my mom had this sheet and thought it would work well for the backing.


And here is the quilt I made my sister. (It was inspired by this quilt by Jess of Urban Patchwork.) It was actually supposed to be her wedding quilt - she got married in July. But she didn't really need it until winter and I wasn't going to see her until Christmas. So of course I was scrambling around trying to finish it up at the last minute.

It measures 91 x 91" and I quilted it myself. I didn't get it finished in time to send to Emily for quilting. So I did the biggest stipple I could manage on my home machine and it turned out okay. I DO NOT like quilting large quilts at home. But my sis and her hubs liked it and that's all that matters :)


they asked for a green and blue quilt so I started with the Denyse Schmidt picnic/fairgrounds dots, picked a  few solids to match, and pulled a few other blues from my stash to mix in. I LOVE the colors.


12.21.2011

Giveaway winner and can you believe Christmas is 4 days away?

Thanks so much for everyone who entered my giveaway, for everyone who went over to look at my shop, and for everyone who purchased from me. I had the best month I've ever had thanks to all of you!

The winner of the giveaway was Robyn. I've emailed her and will be sending her earrings before Christmas.

And can you believe it's only 4 days until Christmas? I've made 2 queen quilts, and several other smallish quilty things. I'll be sure to show you photos after their new owners have seen them. I've still got to do Christmas cards, some surprises for my kids, and neighbor gifts! I think I can do it.

Thanks again to all of you for reading my blog and commenting on my projects. Merry Christmas and Happy Holidays.